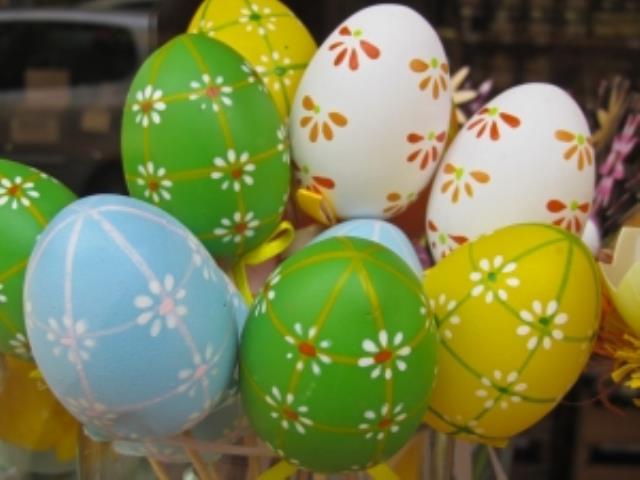
Cooler weather and school holidays make Easter the perfect time for Maribyrnong and Hobsons Bay residents to get stuck into some fun and easy craft projects.
Egg decorating is a European tradition that is practised by people all over the world around Easter time. It involves removing the inside of an egg and then coating the shell in various decorations.
As well as a fun holiday activity, the eggs will double as a beautiful Easter decoration or table centrepiece.
Here is one method of hollowing a shell and decorating the shell. Of course, there are a wide variety of decorations, from traditional to modern and everything in between.
You will need:
– Eggs
– Rubber ear syringe (optional)
– Vinegar
– Food colouring (liquid)
– Plastic cups
1. Select the eggs you wish to use. The eggs of any bird will work, but as a general rule, you should select the largest eggs with the strongest shells possible. This will minimise the chance of breakage during the process.
2. Hollow the egg. This is the most tedious part of the process, and has the most scope for things to go wrong. Make two holes with a thick needle and use a rubber ear syringe (available at chemists) to push out the middle. Wash the egg with soap and water.
3. Decorate the egg. In a plastic cup, place 1/2 cup tap water, 20 drops of liquid food colouring and 1 tablespoon white vinegar and stir well. Prepare multiple cups full of dye if you wish to decorate eggs with different colours.
4. Place the eggs into the dye. You will need to use a spoon to keep the eggs immersed in the dye until they reach the desired shade.
5. After removing the eggs, allow to dry on a paper towel.
6. Store finished eggs in a bowl or in their original carton.
A quick search will present you with endless ideas on ways to decorate, for beginners right through to the seasoned decorator. The traditional method is to use food dye, however anything from permanent markers to temporary tattoos can be used to decorate eggs.


